Providing climbing support and ideal growing conditions for your beautiful vining houseplants can be challenging. Many indoor gardeners rely on moss poles – natural structures covered in moist green moss perfect for helping delicate stems climb upwards.
However, keeping these structures perpetually damp can be inconvenient and time-consuming. By converting a basic moss pole into a self-watering version, you can ensure your plants have consistent access to moisture while saving yourself the hassle of daily misting.
In this easy DIY guide, you’ll learn how to transform basic materials like PVC and sphagnum moss into a fully-functioning self-watering moss pole that operates on a reliable wick system. We’ll provide detailed instructions for constructing the pole, along with tips on choosing the right location within your plant’s pot to embed it.
What Is a Self-Watering Moss Pole?
A self-watering moss pole is an ingenious way to provide consistent moisture and hydration to the climbing stems and aerial roots of your houseplants. It builds on the organic support and humidity-boosting effects of a traditional moss pole but eliminates the need for daily misting and soaking on your part.

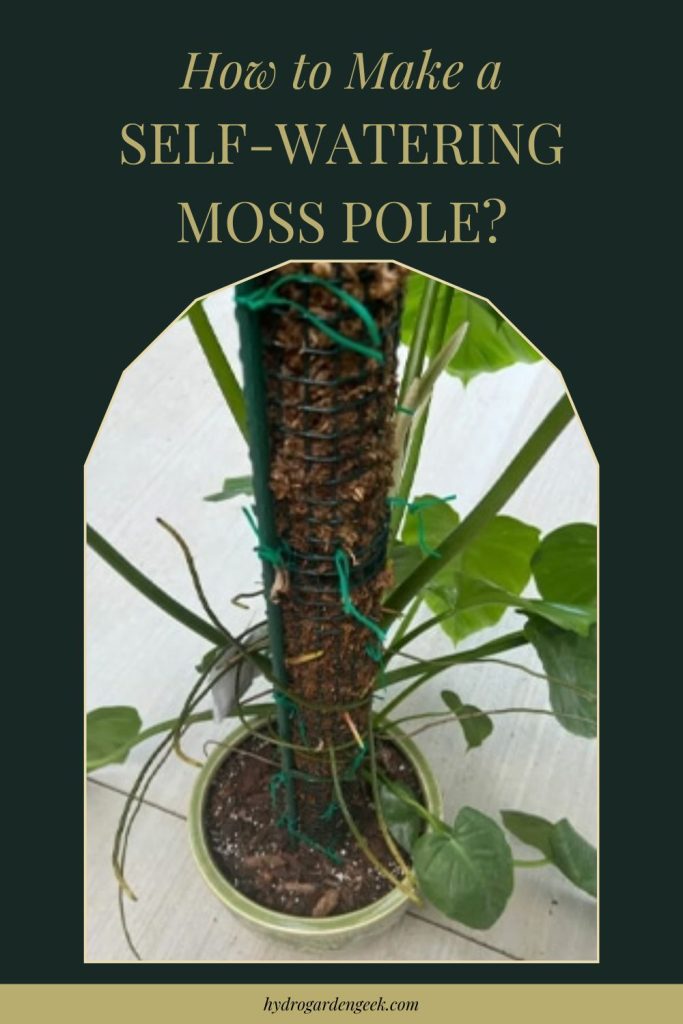
The pole itself consists of an artificial PVC pipe lined and wrapped in sphagnum moss. What makes it «self-watering» is a length of cotton rope or wicking material that runs down the center of the pipe, with one end placed directly into the soil beneath. Through the magical process of capillary action, water is drawn up from the potting mix continuously along the wick, keeping the pole’s moss layer fresh and hydrated for weeks at a time.
Over time, thick masses of clinging aerial roots will completely cover the moist surface of the pole. As they bridge the gap between soil and support, they have a reliable humidity source right at their fingertips, helping them absorb water and nutrients more efficiently.
This process mirrors the natural adaptations of climbing jungle vines that latch onto wet tree trunks and boulders amidst tropical downpours. Self-watering moss poles create this effect right within your living room!
The benefits over standard moss poles go beyond the sheer convenience, too. By maintaining evenly moist moss coverage from top to bottom, the self-watering versions prevent dried out patches that can damage probing root tips and crack as stems swell. The results are faster climbing growth and noticeably healthier plants across the board.
Advantages of Using a Self-Watering Moss Pole
Using a self-watering moss pole offers numerous benefits for both your climbing plants and you, the busy indoor gardener. By relying on an internal wick system to keep poles perpetually hydrated, self-watering models provide the consistent moisture delicate tropical crave without daily misting or soaking on your part. Specific advantages include:
- Requires very little ongoing maintenance. The internal wick system is designed to continually draw water from the reservoir in the plant’s pot up to the moss pole surface without any intervention required. Once initially set up and planted into the soil, you won’t need to perform any regular misting, soaking, or other pole hydration tasks. The pole regulates its own moisture levels through capillary action.
- Promotes faster climbing growth and more vigorous vines. The self-watering pole provides reliably humid conditions, never drying out from top to bottom. This enables tender climbing stems and probing aerial roots to thrive as they adhere across the entirety of the pole’s surface, free from harsh dried patches. With ample moisture always available to new growth, plants invest resources in rapidly ascending vertical vines and lush, full foliage.
- Maximizes health of delicate tropical plants. Humidity-loving orchids, aroids, velvet-leaved philodendrons and other tropicals relish the pole’s ability to mimic the consistently dewy conditions of their native rainforest environments. By preventing moisture stress between waterings, it supports healthy respiration and growth even in temperamental plants prone to decline. Exposure to regular dried out periods causes rapid deterioration in challenging species.
- Stays perpetually hydrated for 2–4 weeks at a time. The wicking cotton rope embedded into the soil pot constantly absorbs and transports available water. Meanwhile, sphagnum moss retains exceptional amounts of moisture until saturated. Through these complimentary systems, the pole is able to remain fresh, fully moistened, and hydrated for extended periods without drying – lasting weeks with no assistance in most environments. Individual duration ranges depend on factors like heat, airflow, and planting medium.
- Prevents damage from dried and cracked moss. As traditional poles start to dry out, the moss layer shrinks and hardens, resulting in a rough surface and deep crevices. These imperfections damage delicate clinging stems, aerial roots, and newly formed root initials as the plants swell into the poles. Meanwhile, the consistently moist moss of a self-watering pole stays smooth, supple and devoid of hazardous cracks. Plants securely attach without injury worries.
- Encourages prolific flowering in many epiphytic plants. Orchids, bromeliads and other epiphytes often bloom more abundant and frequent flower spikes in response to vigorous aerial root and climbing stem growth. The hydrating microclimate created by self-watering moss poles mimics the moisture, humidity and air flow these species have adapted to through evolving as canopy plants attached high up in rainforest trees. You’ll be rewarded with exotic blooms!
- Allows customization of pole height and width. Self-watering poles constructed from PVC allow the gardener to cut segments to any desired length using basic tools. Choose your dimensions based on factors like your plant variety’s projected mature height and spread or the size constraints of your display area. Custom sizing enables respectively large monsteras or petite Hoyas to grow supported stems precisely where needed.
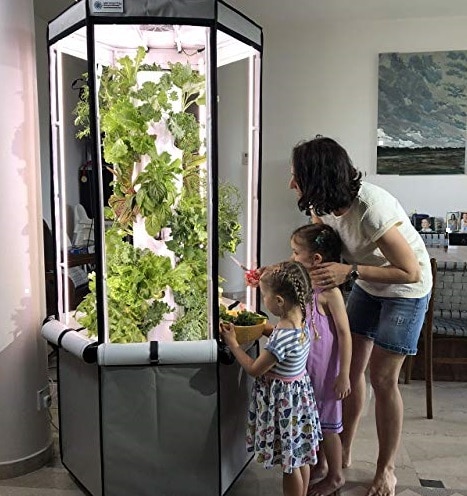
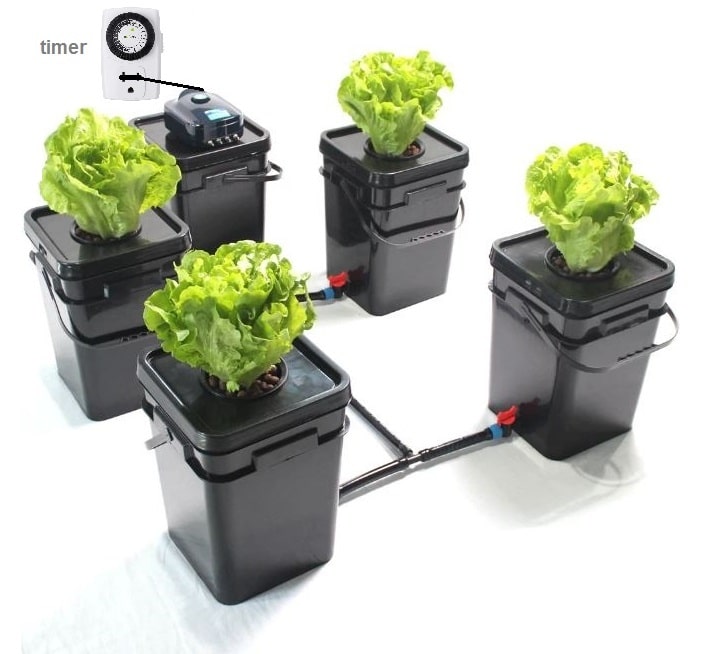
- Easy to use aeroponic system for your home
- Fan - Grow Lettuce, Herbs, Veggies & Fruits
- Grow smart & eat healthy, 20 gallon water reservoir Grow Tent, LED Grow Lights
What Kind of Materials Will I Need?
Constructing a self-watering moss pole is easy, inexpensive, and utilizes basic materials readily available at most hardware stores or home & garden shops. For efficiency’s sake, gather components together prior to starting the simple assembly process. You’ll need:
- PVC pipe. It forms the actual pole. Select your desired height and thickness according to the scale of your plant variety. Standard 1/2 to 3 inch diameters work well for most houseplant applications. Durability and rigidity allow lasting support.
- Sphagnum moss. Wrapping around the PVC, it provides a clinging surface. Look for premium New Zealand varieties which resist decay over seasons of continual moisture. Rinse well before use to remove dust and loose debris that reduces adhesion.
- Cotton rope. Helps to create a sturdy wicking action while resisting mold. Braided fabric strands woven tightly together are ideal. The rope width should match pipe diameter to maximize contact and water flow efficiency into the pole’s moss exterior.
- Scissors, marker and PVC cutter. It will customize pipe segments to your exact pole specifications. Cutting the pipe is easiest using specialized PVC tools, but standard saws also get the job done well. Sand any rough edges smooth.
With these basic building blocks assembled beforehand, transforming them into a functional self-watering support is straightforward for both novice and seasoned gardeners alike.
How to Make a Self-watering Moss Pole
Creating your own self-sustaining moss pole couldn’t be simpler. With easy-to-source materials and basic DIY skills, you’ll quickly transform PVC, sphagnum moss, and cotton rope into the ideal climbing aid and humidity provider for your beloved vining plants.

Trimming PVC Pipe Sections
Once you’ve selected your preferred pipe diameter and wall thickness, measure and mark the PVC to your desired pole height. Account for the depth that will embed into soil when marking — you want visible pole height to align with support needs of the specific climbing plant variety. Be sure to leave room for a moss-covered crown.
Use a specialized PVC cutter for clean 90-degree cuts by closing the shear blade around the pipe exterior. Apply slow, even pressure while rotating the pipe until separated. Alternatively, standard saws like hacksaws, coping saws, or pipe cutters also work. Use a file, knife or sandpaper to smooth any rough burrs or edges after cutting pipe segments. Wipe away PVC debris before assembly.

Capping Pipe Ends
Capping the cut pipe ends not only gives a finished look but also helps retain moisture from escaping the pole’s central reservoir once embedded. Measure pole ends for diameter and attachment points. Purchase matching PVC end cap sizes to create tight seal connections.
Prepare pole ends by sanding if scratched rough. Dry-fit caps first by testing attachment pressure — tap gently with a mallet if needed to fully seat the cap mouth flush with the cut rims. Apply PVC cement around the interior sides of caps and quickly press onto pipe ends, rotating slowly to distribute glue evenly before setting.
Threading the Retention Cord
The retention cord provides both wicking action to pull water into the pole, and securing the moist moss wrap firmly around the PVC frame. Natural fiber twine or nylon rope work well. Measure poles to cut cords longer than needed, then seal ends by melting slightly with flame.
Before adding moss, first thread cords down the pipe interior, allowing even lengths to extend from either end. Tie off at base temporarily. Ensure cords remain centered so future soil contact is maximized. The moss wrap process secures cords externally. Recheck centering by pulling cords taut at the end – adjust as needed. Trim any excess prior to final installation.
Lining with Moss and Securing
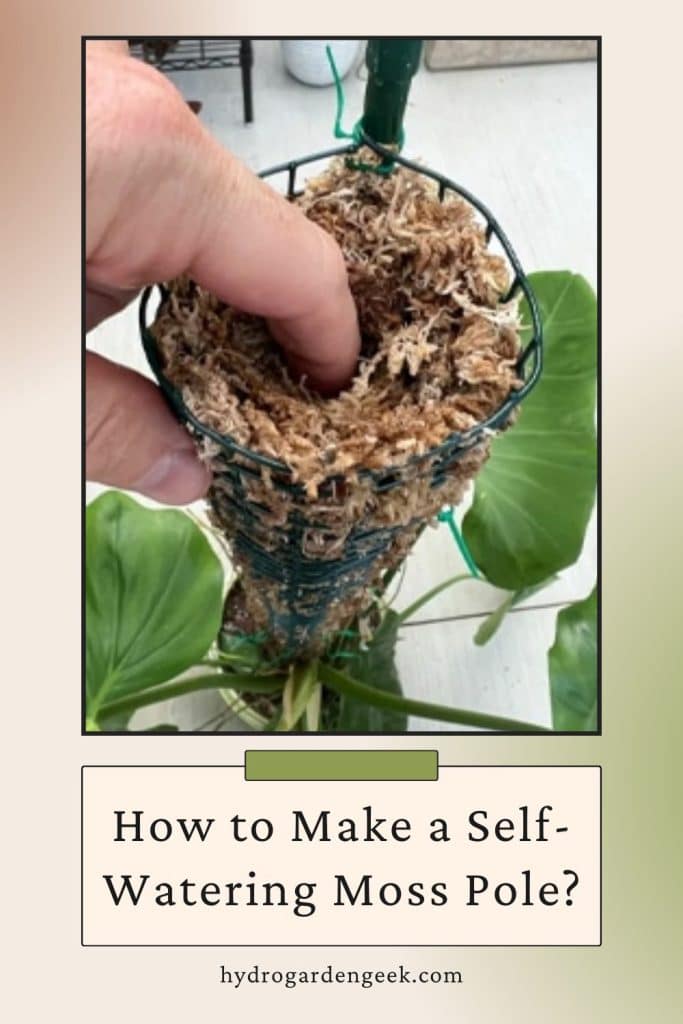
Prep dried sphagnum moss by pre-soaking in non-chlorinated tepid water until fully saturated. Allow excess to drain off before packing around the water wicking rope and PVC pipe form. Generously wrap loose moss around the pole from base to crown, compressing with your fingers evenly as you work upwards.
Secure moss wrap layers with natural jute twine, crisscrossed around the pole at regular intervals. Knot ends firmly to tighten while avoiding excess pressure that squeezes moisture out. Mist again after binding to restore grippy surface moisture, aiding vine adhesion. Let assembly rest overnight for thorough bonding before installing into the pot.
Installation in Soil
Excavate an angled hole at the center of the potting medium, establishing a straight path from soil reservoir to awaiting support vines. Depth should allow two inches of moss contact underground for stability, while keeping the majority exposed for climbing growth. Carefully insert moss pole into the hole, centering for evenly distributed anchoring.
Backfill around the pole with original soil, gently tamping for consolidation while avoiding heavy compression about the moss exterior. Pull the wicking rope ends taut into the fill soil, ensuring maximum underground contact to transmit moisture upwards efficiently. Plant aerial roots atop the moist surface and mist foliage to activate hydration flow.
Affixing Vines to Pole Exterior
Allow freshly established vines a few days to orient aerial rootlets and tendrils towards the new supportive surface before actively training growth across the moist moss binding. Begin loosely affixing vines using plant ties or specialty hooks only as needed until natural adhesion occurs. New root hairs will mesh into the moss given time and humidity.
Avoid damaging mature leaves or constricting circulation via overtightening ties. Inspect connections periodically, removing training aids gently once juvenile anchor roots visibly penetrate the moss with observable radial growth indicating stability. Vines will self-affix efficiently to the perpetually moist surface.
Filling the Water Reservoir
The pole’s water reservoir relies on hydration contact with the underlying potting medium. Monitor soil moisture visually and by hefting the weight daily at first. Refill the containers’ drip trays or submerge pots to one inch below the rim overnight as needed to maintain constant soil saturation. This also hydrates the embedded portion of the self-watering moss pole continuously through the wicking rope tie-ins situated underground across the root zone.

Overwatering can still occur with poor drainage, so amend planting mixes as needed. Adding expanded clay pellets boosts soil aeration and prevents adverse moisture buildup, while allowing the wick system to channel hydration upwards into the pole automatically.
What Kind of Plants Can I Grow on a Moss Pole?
Moss poles create the ideal microclimate of hydration and support for a variety of popular indoor climbing plants to thrive. Whether you seek fuller hanging baskets, elevated displays or assistance directing growth upwards, vining houseplants readily affix to and ascend the humid poles. Great candidates include:
- Flowering epiphytes. Orchids and bromeliads, which naturally attach to rainforest trees, make great candidates for moss poles. Their thick spongy roots relish moisture-retentive surfaces while climbing increases blooms. The humid environment provided by the moss pole mimics their native tropical habitat. Misting often aids respiration for these air plant varieties adapted to high humidity.
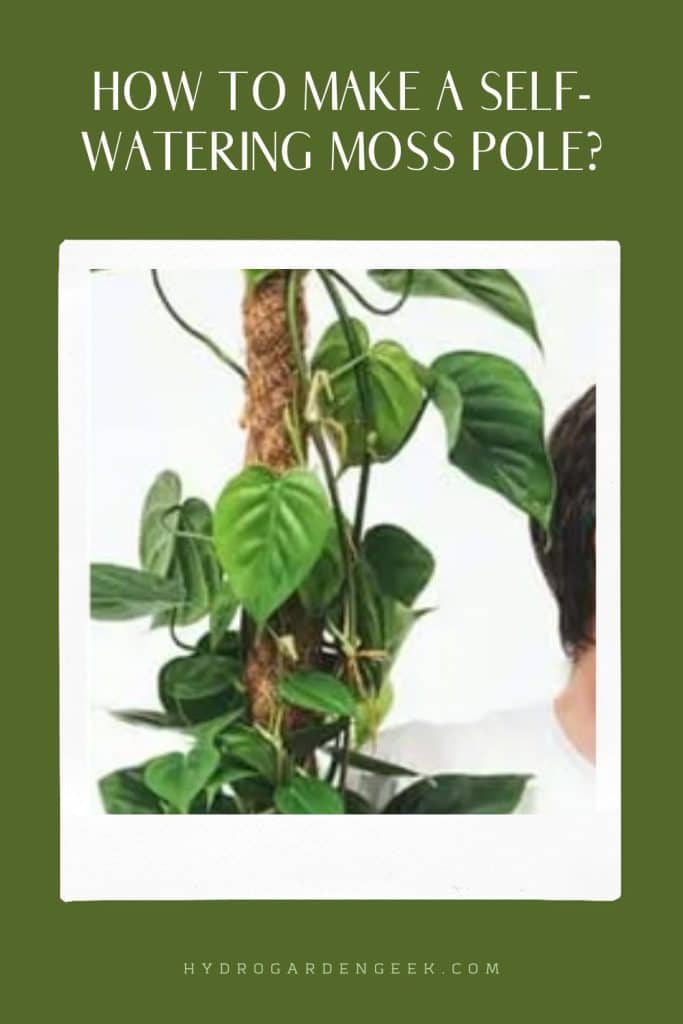
- Leafy aroids. Pothos, philodendrons and monsteras feature extensive aerial roots that latch and fuse to the damp moss coverage on the poles. Steady humidity sustains the lush foliage as stems securely wind upwards. Heart-shaped leaves cascade beautifully down the poles. The aroids thrive with the hydration and support for climbing growth.
- Support-demanding vines. Passionflower and black-eyed Susan also thrive, guided up moss poles. Tendril-like gripping tissues entwine easily around the moist surface while flowering profusely thanks to the hydration and climbing structure provided. The poles offer both anchoring support and ideal moisture.
- Trailing plants. String of hearts, pilea and ivy require trellising assistance to elevate displays. Upon contact with the moist moss surface, stolons root in place. Bushy pendant growth results from converted climbing behavior up the poles. The trailing varieties transform into elevated fixtures with the poles’ humidity and support.
- Succulents. Burro’s tail and certain sedums appreciate the humid microclimate created by moss poles. Fuzzy stems and leaves readily root along the moist surface, while supported vertical growth preserves crowded lower foliage. The poles prevent etiolation and flopping of select drought-tolerant types.
- Miniature rhizomatous begonias. In lieu of soil, fibrous roots embed directly into the spongy hideaway. This recreates the tropical niche of tree-dwelling ancestors. Increased humidity sustains colorful patterned leaves.
Maintenance of the Moss Pole
Proper maintenance is essential to preserve moss poles’ viability long-term. As an integral support structure and provider of humidity for prized potted plants, following best practices sustains the system’s health.
Monitor moisture levels within the moss frequently, especially during warmer or more arid seasons. Check several inches deep, watering whenever the interior approaches dryness. The top layer can be misted more frequently to hydrate aerial roots. Soak poles thoroughly to replenish rather than providing insufficient, frequent sprinkles.
Drainage is equally key to prevent root rot within the moss. Ensure the liner has holes and elevates the bottom off any drained water. Supplement interior airflow by lightly Aerating with a fork on occasion. Cleanliness deters mold and bacterial accumulation over time. Gently dust off debris settling within the moss using compressed air. Remove old foliage and wayward stems as they decay. Top off fading layers with fresh chopped sphagnum or coir fiber as needed to refresh.
Incorporate slow release fertilizer spikes every few months per label instructions, pressing gently into the pole’s core to nourish plants as moisture dissolves the nutrients. Or sprinkle all-purpose granules lightly across the top moss every couple weeks.
Stability assists vigorous climbing plants over years of substantial weight and activity. Secure moss poles in heavier planters or anchor to strong trellises when considerable growth is expected from the chosen vines. Rotate or reposition poles ever so slightly periodically to even sun exposure and encourage symmetrical winding growth. With diligent care, moss poles endure over 5 years before composting depleted materials to source fresh replacements.
FAQs
Does the soil need watering alongside the moss pole?
Yes, it's important to continue your regular soil watering schedule in addition to misting or soaking the moss pole. The moss pole helps create an ideal climbing environment, but your plants still receive most nutrients from the soil and roots.
Does a homemade moss pole offer cost savings?
Yes, homemade moss poles are generally cheaper than a commercially manufactured one. You can make one simply from items like a wooden stake, sphagnum moss, and twine. With some easy DIY, you can save money over buying a decorative or specialty moss pole.
What are some alternatives I can use instead of a moss pole to support my climbing plants?
Some alternatives to moss poles include using a wooden stake, bamboo stake, coconut coir pole, or trellis for your climbing plants to grow on. You can also use a plant cage or attach the climbing stems to the wall with plant ties.
Do you need to moisten or wet a moss pole when using it to support climbing plants?
Yes, moss poles work best when kept moist or wet. The moss helps retain moisture to create an ideal microclimate for climbing plants. You should periodically wet or mist the moss pole to keep it from drying out.
How can I tell when it's time to water the moss pole I'm using to support my climbing plants?
Check if the moss pole feels dry or crispy to the touch. Poke your finger into the moss - if the top inch feels dry, it's time to mist or soak the pole. You want the moss to stay consistently moist, but not sopping wet.
What is the ideal density or thickness the moss should be on a moss pole used to support climbing plants?
The moss should be dense enough to retain moisture, but not so dense that air cannot penetrate it. Aim for 1–3 inches of loosely packed moss that your finger can push into. Too tightly packed, and the moss pole won't absorb water well. Too loose, and it won't retain the needed moisture.