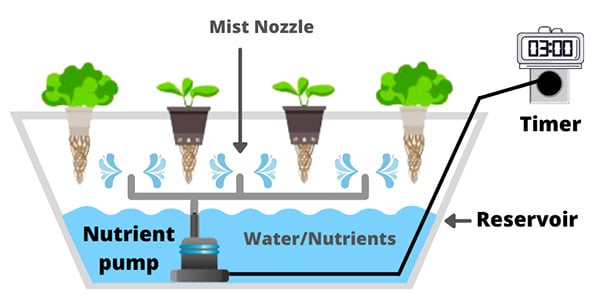
If you’re new to gardening or looking to expand your skills, you may come across unfamiliar terms, such as aeroponics. Essentially, aeroponics is a method of plant cultivation that does not involve soil. Instead of utilizing soil or water, as with hydroponics, plants are grown without any form of growing medium. A nutrient-rich mist of water is sprayed onto the plant’s exposed roots and lower stem, providing everything the plant needs to thrive. Aeroponically grown plants can develop rapidly due to the ample supply of oxygen that their roots receive.
This is the method used by NASA to grow plants in space, which is how I first learned of aeroponics. It’s one of the coolest ways to grow a plant, and lets you see just how roots develop close up. While it may not seem like it, it is possible to grow aeroponics at home, you just need to be ready to create your own system for growing your plants. While there are commercial options out there, I find most to be too expensive for a home gardener. If you’re anything like me and love unique ways to grow plants, this is a great DIY project to take on.

If you are interested in Aeroponics you can also be interested in home hydroponic systems to help you easily start tp grow plants. Our top articles: Our Picks for the 5 Grow Tent Kits, Picks for the 5 Aeroponics Systems, Our Picks for the 5 Hydroponic Bucket Systems with Buyer’s Guides, and Our Picks for the 5 best indoor vertical Garden, and Led Grow Lights for an indoor plant.
What You Will Need
- 1. Two 5 gallon buckets
- 2. Submersible pump, look for one meant for fountains with a high output
- 3. Spray heads
- 4. PVC primer and cement
- 5. Timer
- 6. 3″ Net Pot
- 7. Schedule 40 PVC pipe cut into 3 x 1″ pieces, 1 x 7/8″ piece, and 2 x 3″ pieces
- 8. 2 x 1/2″ couplers
- 9. 2 x 1/2″ caps
- 10. 2 x 1/2″ slip 45 degree elbows
- 11. 1 x 90 degree T
- 12. 1 x 1/2″ adaptor threaded/slip to screw into the pump
- 13. 11/64″ Drill bit
- 14. 11/16″ Drill Bit
- 15. 3″ hole saw
- 16. Clay pebbles/hydroton
- 17. 1 x 1 7/8″ hole saw
- 18. 2″ neoprene cloning collar
- 19. Small Zip ties, at least 6
System Types
There are two types of systems for aeroponics. These are the low-pressure and high-pressure systems. Low-pressure systems are the most familiar, and typically use easily found parts such as fountain pumps and sprinkler heads. These systems work great, but the larger droplet size means that the plants get less oxygen to the roots and will take longer to grow. They are also considered to be mostly hydroponic systems thanks to a large amount of moisture on the roots.
High-pressure systems use more specialized parts, making them more expensive, but they do offer the fastest growing and are true aeroponic systems. Ultrasonic foggers can work for aeroponics, they can be a good solution. Personally, I love fogger systems, but finding the right fogger isn’t easy and I feel like the plants wilt a bit faster. This makes them a bit less forgiving for beginners.
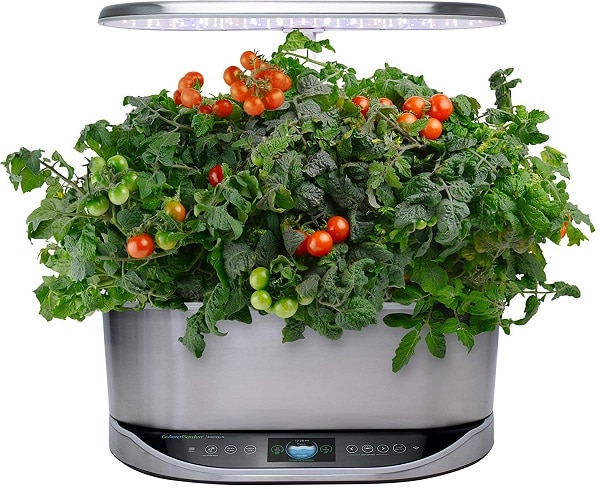 AeroGarden Bounty Elite - Indoor Garden with LED Grow Light
- WiFi and Alexa Compatible, Stainless Steel Grow up to 9 plants, up to 24duim
- Includes everything you need to grow
- 50 watt LED Grow Lights, perfect spectrum for fast growth & big harvests
This tutorial is for a low-pressure system since I feel that is most successful for a beginner. Hopefully, you have some experience with hydroponics already so you know about the nutrient solutions needed to grow, but this information is easy to find. Just buy a hydroponic nutrient solution and follow the directions on the label. You can use this system for both cloning and growing plants. Clones generally just need regular water, instead of nutrients. If you love making clones for friends or family, I would advise one of the box systems with plenty of spaces for plants. There are some good commercial options out there that also include covers to help avoid shock.
Other Systems to Try
If you enjoy the basic idea, using an ultrasonic fogger is the next step since a basic system is cheap to create and maintain. High-pressure systems are best for people with experience who know how to set up a pressurized system.
How to build an aeroponic tower garden and what is it?
You can also try constructing an aeroponic tower system to grow more plants. A tower system is the same concept, but places for plants are on the outside rather than the top. Most are made using large PVC pipes or barrels. You can build one by drilling holes in the side of a barrel and adding smaller PVC pipes to act as the plant holders. Make sure there is enough room inside for the mist to reach all the plants.
How to maintain ph levels naturally aeroponics system
PH levels should be checked regularly, with the strips or a drop system. If your levels are off, most nutrient manufacturers have cheap solutions to raise or lower pH. Make sure to check daily so you catch problems early.
If you are looking for yield, both hydroponics and aeroponics beat outgrowing in soil. However, aeroponics tends to grow plants faster. Low-pressure systems like this grow the slowest, but still faster than hydroponics. Fogger systems and high-pressure systems grow more quickly. If you’ve ever heard of commercial aeroponics, those systems are almost always high-pressure systems.
What is the difference between aeroponics and hydroponics
Remember, hydroponics grow plants with the roots directly in the water with nutrients added, while aeroponics has the roots in the air with the nutrient water sprayed onto them.
Material Notes
My list is to give you options to customize your system to your needs.
For the buckets, I based this on a basic 5-gallon bucket. This can hold one larger plant like tomato or pepper if you add some PVC piping or a trellis, or you can grow several smaller plants. If you want more space, you can use a larger plastic tote that is opaque. Your roots need to be kept in the dark, so don’t use anything that lets in light. Make sure it has a tight-fitting lid to keep up humidity.
Your pump needs to be able to handle a good amount of pressure. Look for one that pumps more gallons per hour. The larger your system and the higher the number of nozzles or sprinkler heads, the stronger your pump needs to be.
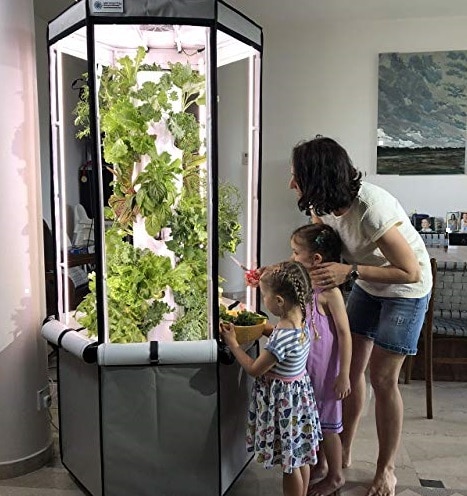
 Aerospring 27-Plant Vertical Hydroponics Indoor Growing System
- Easy to use aeroponic system for your home
- Fan - Grow Lettuce, Herbs, Veggies & Fruits
- Grow smart & eat healthy, 20 gallon water reservoir Grow Tent, LED Grow Lights
The PVC piping is to support the sprinkler heads at the right height. You will need to cut a variety of sizes that will fit. The listed sizes work with the bucket and will give you plenty of coverage for one plant. If you are making a larger system, then you should be sure to test fit the whole sprinkler system to make sure it will fit in the space you have.
A timer is needed to run it. You can watch your plant and adjust the timer if they seem to need more water. Plants in an aeroponic system tend to show that they need more water quickly.
Tools, Tips, and Expanding Your System
This system grows one larger plant, but you could add more holes with smaller pots to grow more plants. This is good if you have smaller plants like herbs or if you are cloning in your system.
The 3-inch net pot will hole one larger plant like a pepper, however, you could use several smaller pots. You could also opt for a 6-inch net pot that will work as a lid. You can find these available online.
For the drill bits, you don’t need the exact size, but it should be smaller than what you need. You can carefully use a utility knife to slowly enlarge any holes until the pipes fit snuggly. Also, if you find your drill trying to skip or refusing to dig in, I have found using a nail to punch a small guide hole to help. I just use a large nail meant for holding heavier pictures.
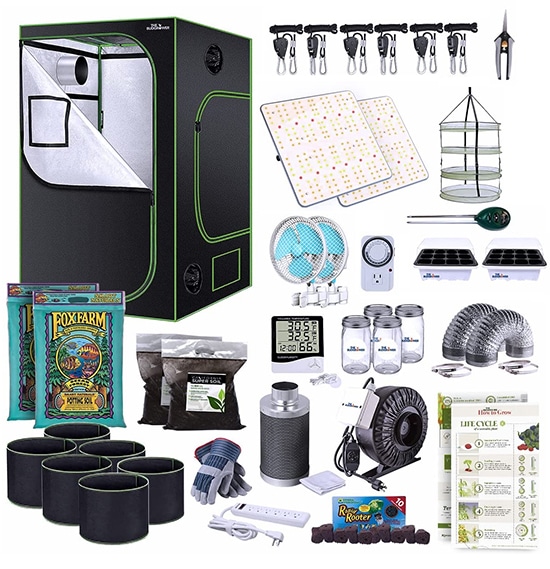 TheBudGrower Complete All-in-One Home Grow Solution 4x4x7ft- 2200W(2)
- LED lights specialty manufactured by VIVOSUN with Samsung LM301 diodes for FULL spectrum light
- The industries most durable grow tent – heavy duty 1680d oxford cloth
- Money & energy saving complete home grow tent kit
The clay pebbles are for stabilizing the plant, you could use coco coir. Either one will work well for keeping a plant stable. I have also seen systems using pieces of foam since they don’t compress the stem as it grows. If you use foam on a smaller plant, you shouldn’t need a net pot.
The neoprene collar is to help seal the hole the power cable for the pump runs through. You could use foam instead, or anything that will seal the hole from light while still allowing your cable out.
BONUS: Creating Your Aeroponics System Step-By-Step Guide
Step 1. Gather Your Parts and Test the Fit
You should make sure all your PVC pipe segments are cut and ready to go. Test fitting all the parts before you drill or seal anything ensures that it will all come together at the end.
Step 2. Drill Your Inner Bucket
Once you know your pipes all fit together, you need to drill the holes in the inner bucket. This will keep all the parts of your system and the plant contained so you can easily move this inner bucket into a new bucket of nutrient solution. Drill a hole to fit the pipe that connects to your pump, making sure there is a tight fit. Then add the holes to the sides of the bucket and around the bottom so that any sprayed solution will drain back to the outer bucket. You should also make a whole that the power cord will fit through so you can run it back through the bucket and out the lid. Make sure you use a utility knife to clean up any rough edges and bits of plastic. These could damage your pump if left alone.
Step 3. Cut the Lid
Now it is time to cut the hole for your net pot. Mark out where you want the hole to be, and drill holes for zip ties so you can secure the net pot. Then you can use a hole cutter, or mark it out and carefully cut it with your utility blade to create the space for the pot.
Step 4. Prime and Glue the Adaptor
Now you need to prime and cement the parts of the PVC adaptor that will go through your bucket to link your pump to your spray manifold inside the inner bucket. The primer and cement are generally sold together, so make sure you buy the set for PVC and follow the directions on the package. Use the primer first, do not skip it or you may face leakage and low pressure later on.
Step 5. Install the Spray Nozzles
You should take apart your spray manifold and drill in where you will place the spray nozzles. Then just push the nozzles in. So long as you used the right size drill bit, they should fit tightly.
Step 6. Prime and Cement the Spray Manifold
Just like you put together the adaptor, now you can put together the spray manifold. It should reach upwards with the nozzles facing up. This is when you should check to make sure the whole system doesn’t rock around since once the cement dries it should be very solid.
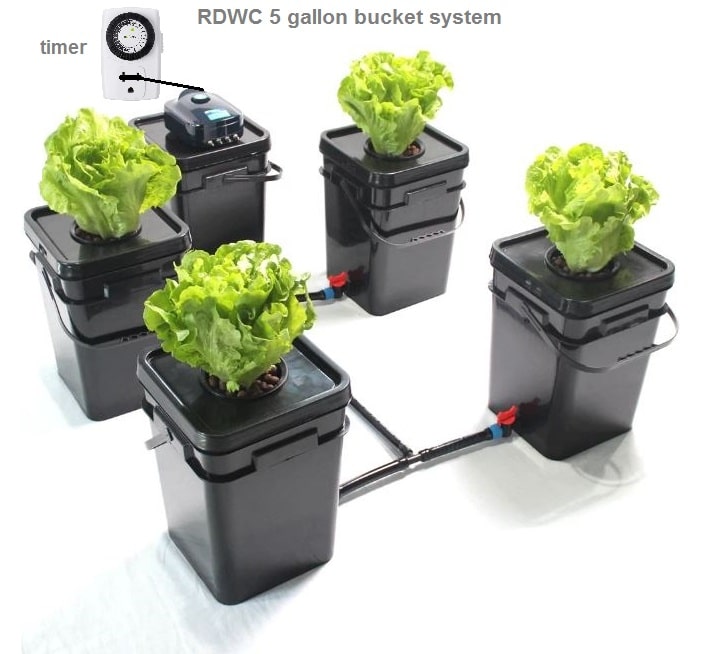
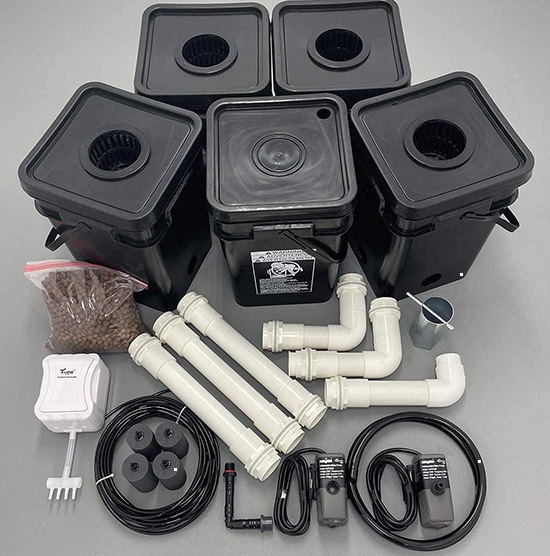 Recirculating Deep Water Culture (RDWC) Hydroponic Grow Kit System
- Reservoir Bucket Connected to 4 Grow Buckets
- 400 Gallon/hour Circulating Pump
- Large 5 gallon square buckets, pre-drilled
Step 7. Install the Net Pot and Drill the Power Cord Hole
Now you need to focus on the lid. Cut an offset hole for the power cord to go through using the 1 7/8″ hole cutter to fit a 2-inch neoprene collar. You can also place your net pot and use the zip ties to hold it in place. If you are using the integrated bucket lid and pot, you only need to cut a hole for the power cord.
Step 8. Spray Test
Now it’s time to fit everything together and add water to the outer bucket so you can test that the spray works. So long as you followed the direction, you should have a result like a video linked here. If not, you need to troubleshoot. If you aren’t getting good pressure, you may have sealed things poorly, or your pump may be too weak.
Step 9. Add the Neoprene Collar and Prepare to Plant
Now we are finally ready to add your plant! First, put your neoprene collar into the hole you cut for your power cord and feed it through. Next, you can add your plant to the net pot. If you’ve prepared a young plant for hydroponics, you already know what to do. If not, the goal is to carefully free the roots from the soil using a bowl of water. Be very gentle and lightly massage to help free the roots. Don’t be rough or you may damage the roots and kill the plant. Carefully add the roots to the net pot. Your plant won’t stay up on its own, this is what the pre-washed clay pebbles or coco coir are for. Hold the plant upright and carefully add the pebbles around until the plant is standing on its own.
Step 10. Place Your Plant, Add Nutrients, and Plugin the Timer
We’re on the home stretch now. If you are growing indoors, you should select a spot with plenty of light or an area you have a grow light set up. If not, pick a spot outside that will meet the light needs of your plant. Once it is placed, add your water and nutrients according to the package directions. You should also plug your pump into the timer and set it to be on for 5 minutes and off for 5 minutes. If you are growing indoors, you could add a small fan to the same timer to increase airflow and grow a healthier plant. This isn’t necessary if you will be growing outdoors. You can always adjust the timer if you need to later on. Just watch your plant.
Step 11. Enjoy Your New Aeroponics System!
As you can see, this system can grow a big, healthy plant easily. For a larger plant like the pepper that is grown in the video, you can add a trellis to give it some support. PVC pipe works fine, or a trellis bought at a gardening store.
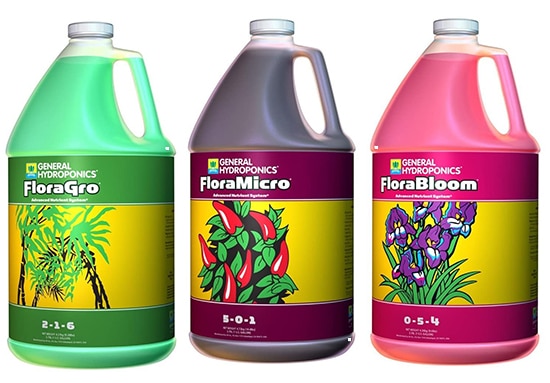 General Hydroponics Flora Grow, Bloom, Micro Combo Fertilizer, 1 gallon (Pack of 3)
- Сomplete nutrient system
- Highly purified concentrates for maximum solubility
- NASAAntarctic research scientists choose flora series!
In Conclusion
I hope you enjoyed this tutorial as much as I enjoyed writing it. I love hydroponics, and aeroponics is a step up in my opinion. A simpler and relatively cheap system like this is a great intro to growing in this way. If you have any thoughts or questions, make sure to leave a comment below. If you feel like a friend would love this, be sure to share the tutorial with them.
